
Handler Cabin Construction
/High fives all around- the well is complete! After four days of pounding, chiseling, and flushing, we now have a 40 foot well with access to delicious drinking water. Over those four days, Derek manned the well pounder while the rest of us alternated between assisting Derek and running dogs. I think we all have a new appreciation for water fresh from a tap.
Now that the well is complete (more or less), we've begun construction of the handler cabin. The handler cabin will be a simple trapline style cabin. Even though it will essentially be a log box, we plan to make it quite cozy and constructed as sort of "duplex." The 16ft x 16ft cabin will be split into two separate living quarters. Each area will have it's own drip oil stove for heating. There won't be running water, but there will be a comfortable outhouse a short walk away. Who wants to come visit?
If you recall from earlier posts, we drug in logs from the surrounding land this spring by dog team and snowmachine. Ok, truthfully, most of the logs were drug in by snowmachine, but the few that we did drag in by dog team were waaay more fun. Over the summer and this fall, we peeled all 45 logs. Now we've begun the process of actual construction!

The chainsaw mill with a milled log.
Now that the logs are all peeled, we mill each log on three sides and then place them on the 16ft x16ft deck we constructed. For the milling process, we're using a chainsaw mill. It's a pretty slick design. We just set the logs up on the metal supports, adjust the height of either side so that the chainsaw blade shaves just the top of the log, run the chainsaw down the rail, and voila! One side is milled. I have a short video clip of Derek milling a log to demonstrate.
After each log is milled, we place it on the cabin deck. Rather than layering the logs "Lincoln Log style," we milled a single corner post and then butt up each three-sided log against the corner post. Each log has varying widths from one end to the other, so we alternate placing the logs to try and keep each side of the wall relatively even.

Logs butting up to the corner post.
To secure the logs to one another, we drill in log screws as well as set spikes in the corner posts.

Derek modelling how to drill.
You'll notice in the below photo that there are big gaps in the walls. Those will be for windows and doors. Rather than lifting massive 16 ft logs and cutting out chunks later, we opted to put up smaller logs and strategically place the gaps for the windows. Even still, we have to be careful where we place the cabin screws so that we don't wreck a chainsaw later on trying to hack through one.
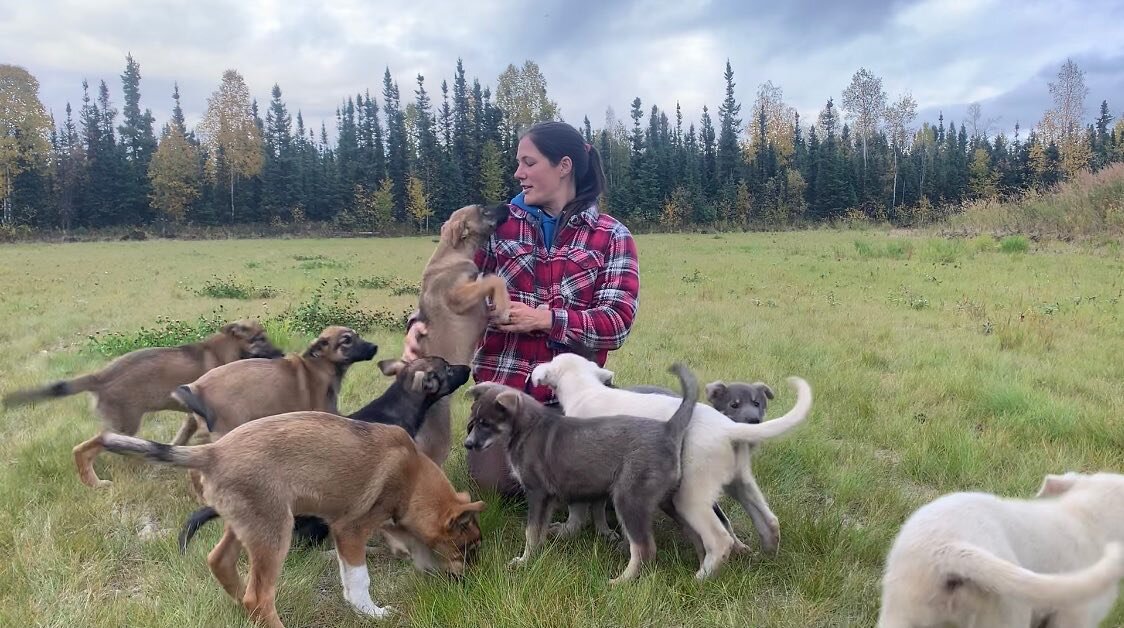
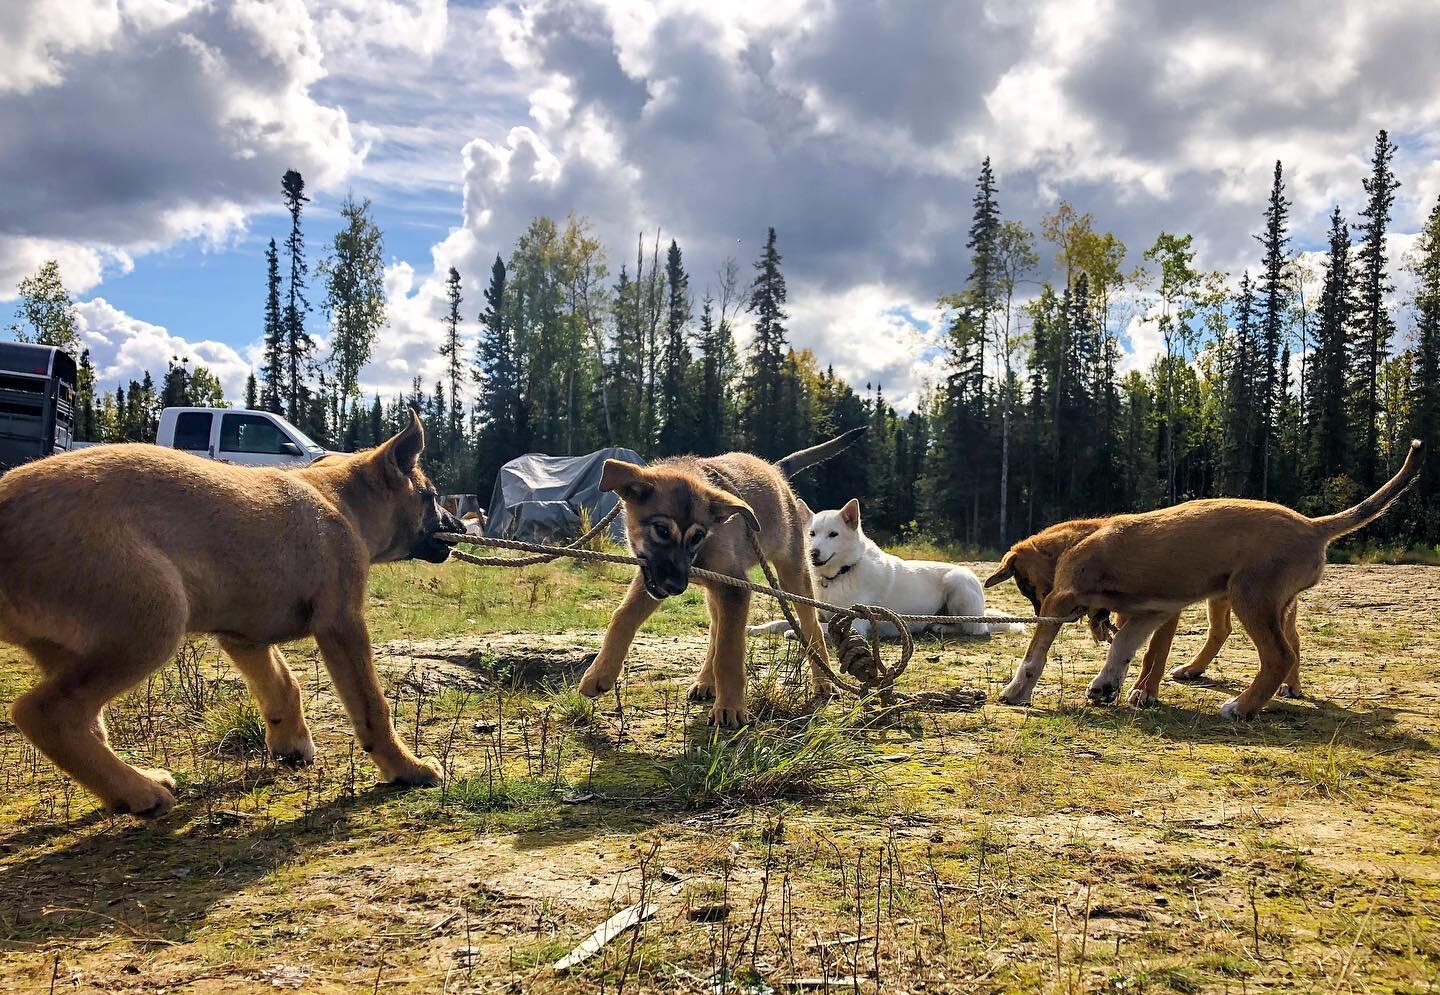
We'll be sure to keep you posted as cabin construction continues! In the meantime, check out our latest puppy portraits if you haven't had a chance. They're on the athletes page!

The logs are going up!